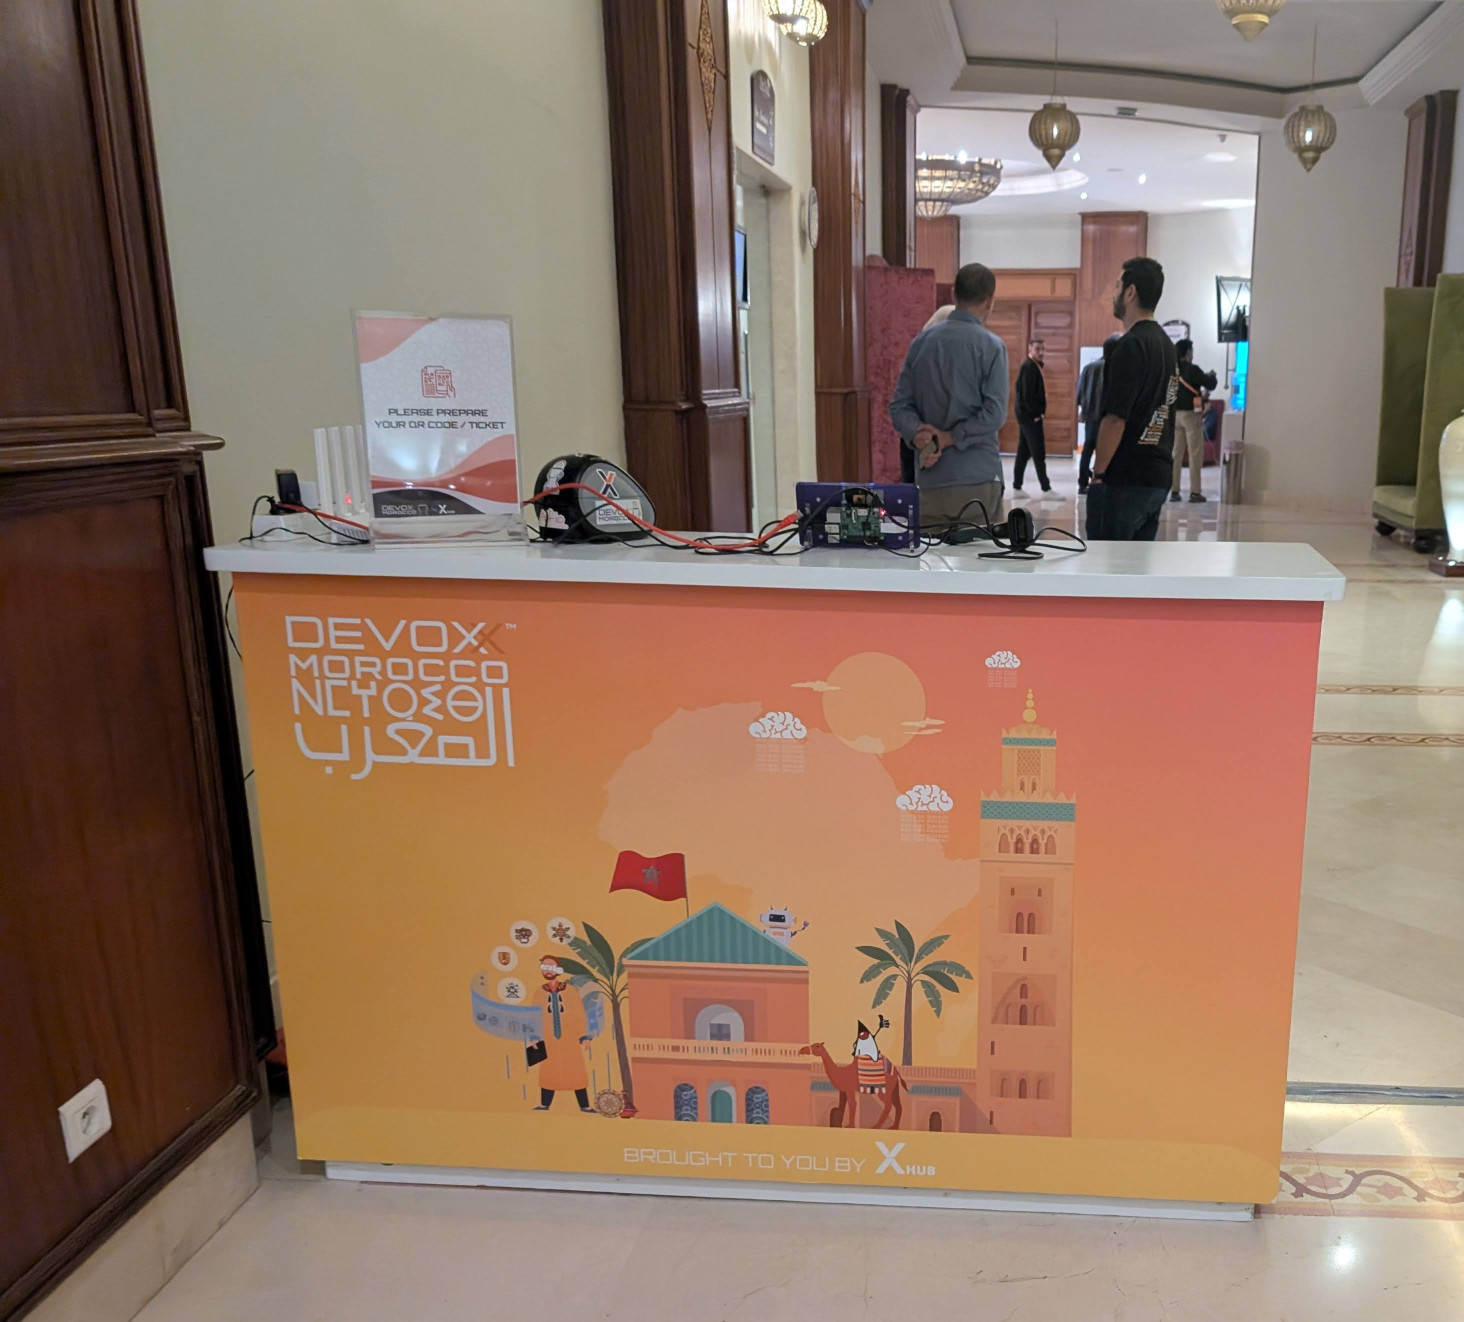
Devoxx Morocco brought together a mix of engineers, architects, and AI practitioners who were focused on the practical side of AI. The conversations were grounded in real problems rather than vague theory. People wanted to talk through design decisions, past failures, and the parts of their stack that still worry them. That set the tone for the conversations happening at the conference. The setting made it easy to slow down, listen, and think through the patterns that kept showing up.
Two themes came up everywhere: agentic systems built with MCP, and how to get AI pilots into production. The surprising part was how technical the hallway conversations were; as in a higher caliber than I have recently been to! Folks wanted to compare notes on everything from context-window constraints to the tradeoffs of graph-based retrieval. Instead of repeating the same “AI is the future” line, people were honest about the limits of current tools and focused on how to deal with them. It made the event feel useful in a way most conferences don’t.
This was a stark contrast to KubeCon, which took place the same week. Granted, the conferences’ purposes were different: KubeCon focuses primarily on application/container infrastructure, and Devoxx is engineer/developer-focused… but the difference in the AI discussions was VERY different. At KubeCon, the AI discussions felt stuck in the marketing and hype phase, and at Devoxx, the promise of the hype was meeting the realities of implementation.
Let’s dive into some of the discussions at Devoxx Morocco!
Highlights from Devoxx Morocco
The technical depth of the discussions stood out right away. Two of the most detailed conversations centered around vector embeddings and why they often fall short in production. Both engineers told nearly the same story: the embeddings looked fine on paper, but the answers drifted, broke down when correctness mattered, or hallucinated when the domain got too specific. What surprised me was that they brought up graph-based retrieval before I did. They wanted to talk about ontology design, schema choices, and how to build a structure that reflects the real domain. You could tell they had already run into the limits of semantic search and were looking for something more grounded in facts.
Another strong thread came from someone who had been working with Model Context Protocol (MCP) and ran into context-window and tool-count limits. The way they described it felt familiar. You can scale the prompt window and restructure your tools, but there’s a point where the entire system becomes fragile. After thinking it over, it’s clear that Anthropic Skills are meant to address this problem. At a very high level, Skills act like folders that hide or load tools only when needed. It’s a smart workaround, but it also kicks the problem down the road rather than addressing it head-on. Additionally, it made me wonder whether these dynamic “folders” introduce their own risks, like tool hijacking within a skill if security boundaries aren’t well-defined.
Production-readiness came up again and again. Attendees weren’t trying to “explore possibilities” the way many teams still do. They were focused on the details that block deployment: data pipelines, observability, governance, and proving that an AI system delivers value. It was refreshing to hear people skip the marketing talk and get straight to real outcomes. They cared about what actually works, not the slideware version of AI.
My session titled “Rethinking RAG: How MCP and Multi-Agents Will Transform the Future of Intelligent Search” explored how Model Context Protocol (MCP) and Agent2Agent (A2A) can reshape the future of intelligent search by moving beyond flat, opaque vector embeddings toward adaptive, explainable, and secure agentic systems. The talk highlighted how current RAG pipelines often fail due to a lack of reasoning depth and fragile context handling. Through live demos, we showed how combining MCP’s structured data access with A2A’s multi-agent collaboration enables scalable solutions that enable agents to reason, search, and cooperate in real time. Key takeaways included designing modular agentic architectures inspired by software engineering principles, using reinforcement learning loops to safely promote verified knowledge into the RAG corpus, and considering small, specialized language models (SLMs) for faster, cheaper, and more transparent performance.
If you are interested in seeing the slides or the demo material, you can find them on my GitHub repo: github.com/davidvonthenen/2025-devoxx-morocco.
The more conversations I had, the clearer it became that many teams here are further along in their AI journey than what I typically hear at other events. The questions were sharper. The examples were real. And the pressure to deliver value was obvious. You could see that stakeholders weren’t looking for experimentation anymore. They wanted impact, and the engineers at the event were working toward that with real urgency.
Personal Note
This was my first time visiting Morocco, and after hearing about Devoxx Morocco last year, I was definitely interested in attending. I didn’t know what to expect, but I knew this would easily be different from any other place I had visited in all my travels. The things I usually look for when traveling anywhere are: I want to know the real history of a place, see some amazing art or architecture, chat with people who live and have roots in the region, and, of course, eat all of the food.

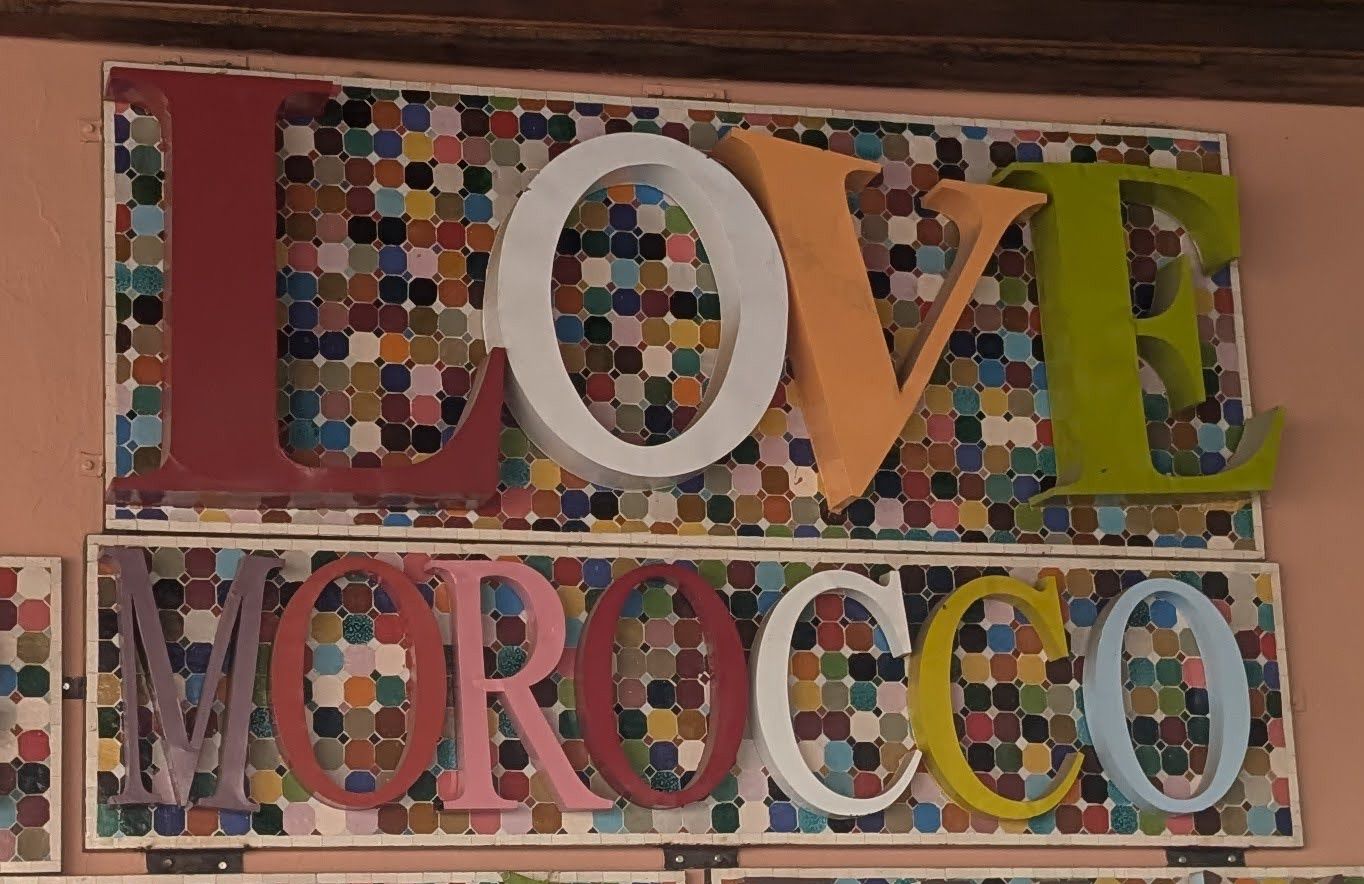
On the architecture and art front, I was blown away by the bright colors and mix of Arabic and Middle Eastern influences. I have never seen buildings or architecture where the colors were just absolutely in your face. Truly a stand out.

And to see how nature is integrated into the architecture, buildings, and landscape was simply beautiful.
If you find yourself in the area (in Europe) and you want something different, I recommend adding a stop in Marrakesh. If you like traveling the road less traveled, you won’t be disappointed.
Until Next Time!
Devoxx Morocco showed a clear shift in how engineers think about AI today. The excitement is still there, but it’s grounded in real work. People talked about the friction points they’ve faced, the parts they’ve rebuilt, and the choices they regret. And the common thread was simple: value matters. Teams want systems that work in production, not demos that run well on a stage. The conversations made it clear that AI is entering a phase where engineering discipline matters as much as model quality. That honesty made the event stand out.

On that personal note, given the chance, I would totally come back to Marrakesh and Morocco. There is plenty to do and I couldn’t possibly do it all in the time that I had. I will be back!